若依前后端分离版集成UReport2(154)
UReport2是一款基于Java的开源报表工具,它提供了丰富的功能和易用的界面,用于生成和展示各种类型的报表。
一、 UReport2概述:
功能丰富:UReport2具有强大的功能,包括报表设计、数据源配置、报表预览、报表导出等。用户可以通过UReport2轻松创建各种类型的报表,满足不同业务需求。
可视化设计:UReport2提供了直观的可视化报表设计界面,用户可以通过拖拽、编辑等操作轻松设计报表的结构和样式,无需编写复杂的代码。
多种数据源支持:UReport2支持多种数据源,包括关系型数据库、NoSQL数据库、Excel文件等,用户可以灵活选择数据源,并进行配置和管理。
动态报表:UReport2支持动态报表的生成和展示,用户可以根据需要在运行时动态修改报表的结构和数据,实现个性化的报表展示效果。
报表导出:UReport2支持将报表导出为多种格式,包括PDF、Excel、Word等,用户可以方便地将报表分享给其他人员或保存到本地进行查阅。
开源免费:UReport2是基于Java开发的开源项目,用户可以免费获取源代码并进行使用、修改和定制,满足不同场景下的需求。
二.安装配置
1.ruoyi-admin/pom.xml文件中引入ureport2的依赖
<!-- ureport2报表 -->
<dependency>
    <groupId>com.bstek.ureport</groupId>
    <artifactId>ureport2-console</artifactId>
    <version>2.2.9</version>
</dependency>
2.启动类指定xml文件,注册Bean
@ImportResource("classpath:ureport-console-context.xml")
@SpringBootApplication(exclude = { DataSourceAutoConfiguration.class })
public class RuoYiApplication {
    public static void main(String[] args) {
        SpringApplication.run(RuoYiApplication.class, args);
        System.out.println("(♥◠‿◠)ノ゙  若依启动成功   ლ(´ڡ`ლ)゙  \n" +
                " .-------.       ____     __        \n" +
                " |  _ _   \\      \\   \\   /  /    \n" +
                " | ( ' )  |       \\  _. /  '       \n" +
                " |(_ o _) /        _( )_ .'         \n" +
                " | (_,_).' __  ___(_ o _)'          \n" +
                " |  |\\ \\  |  ||   |(_,_)'         \n" +
                " |  | \\ `'   /|   `-'  /           \n" +
                " |  |  \\    /  \\      /           \n" +
                " ''-'   `'-'    `-..-'              ");
    }

@Bean
    public ServletRegistrationBean buildUReportServlet(){
        return new ServletRegistrationBean(new UReportServlet(),"/ureport/*");
    }
3.根据@ImportResource("classpath:ureport-console-context.xml")指定,创建context.xml文件
文件目录:
ruoyi-admin\src\main\resources\context.xml
<?xml version="1.0" encoding="UTF-8"?>
<beans xmlns="http://www.springframework.org/schema/beans"
       xmlns:xsi="http://www.w3.org/2001/XMLSchema-instance" xmlns:context="http://www.springframework.org/schema/context"
       xsi:schemaLocation="http://www.springframework.org/schema/beans http://www.springframework.org/schema/beans/spring-beans-3.0.xsd
        http://www.springframework.org/schema/context http://www.springframework.org/schema/context/spring-context-3.0.xsd">

    <import resource="classpath:ureport-console-context.xml" />
    <bean id="propertyConfigurer" parent="ureport.props">
        <property name="location">
            <value>ruoyi-admin\src\main\resources\config.properties</value>
        </property>
    </bean>
</beans>
4.在ruoyi-admin\src\main\resources目录下创建ureport配置文件。名为config.properties
ureport.disableHttpSessionReportCache=false
ureport.disableFileProvider=true
ureport.fileStoreDir=/WEB-INF/ureportfiles
ureport.debug=true
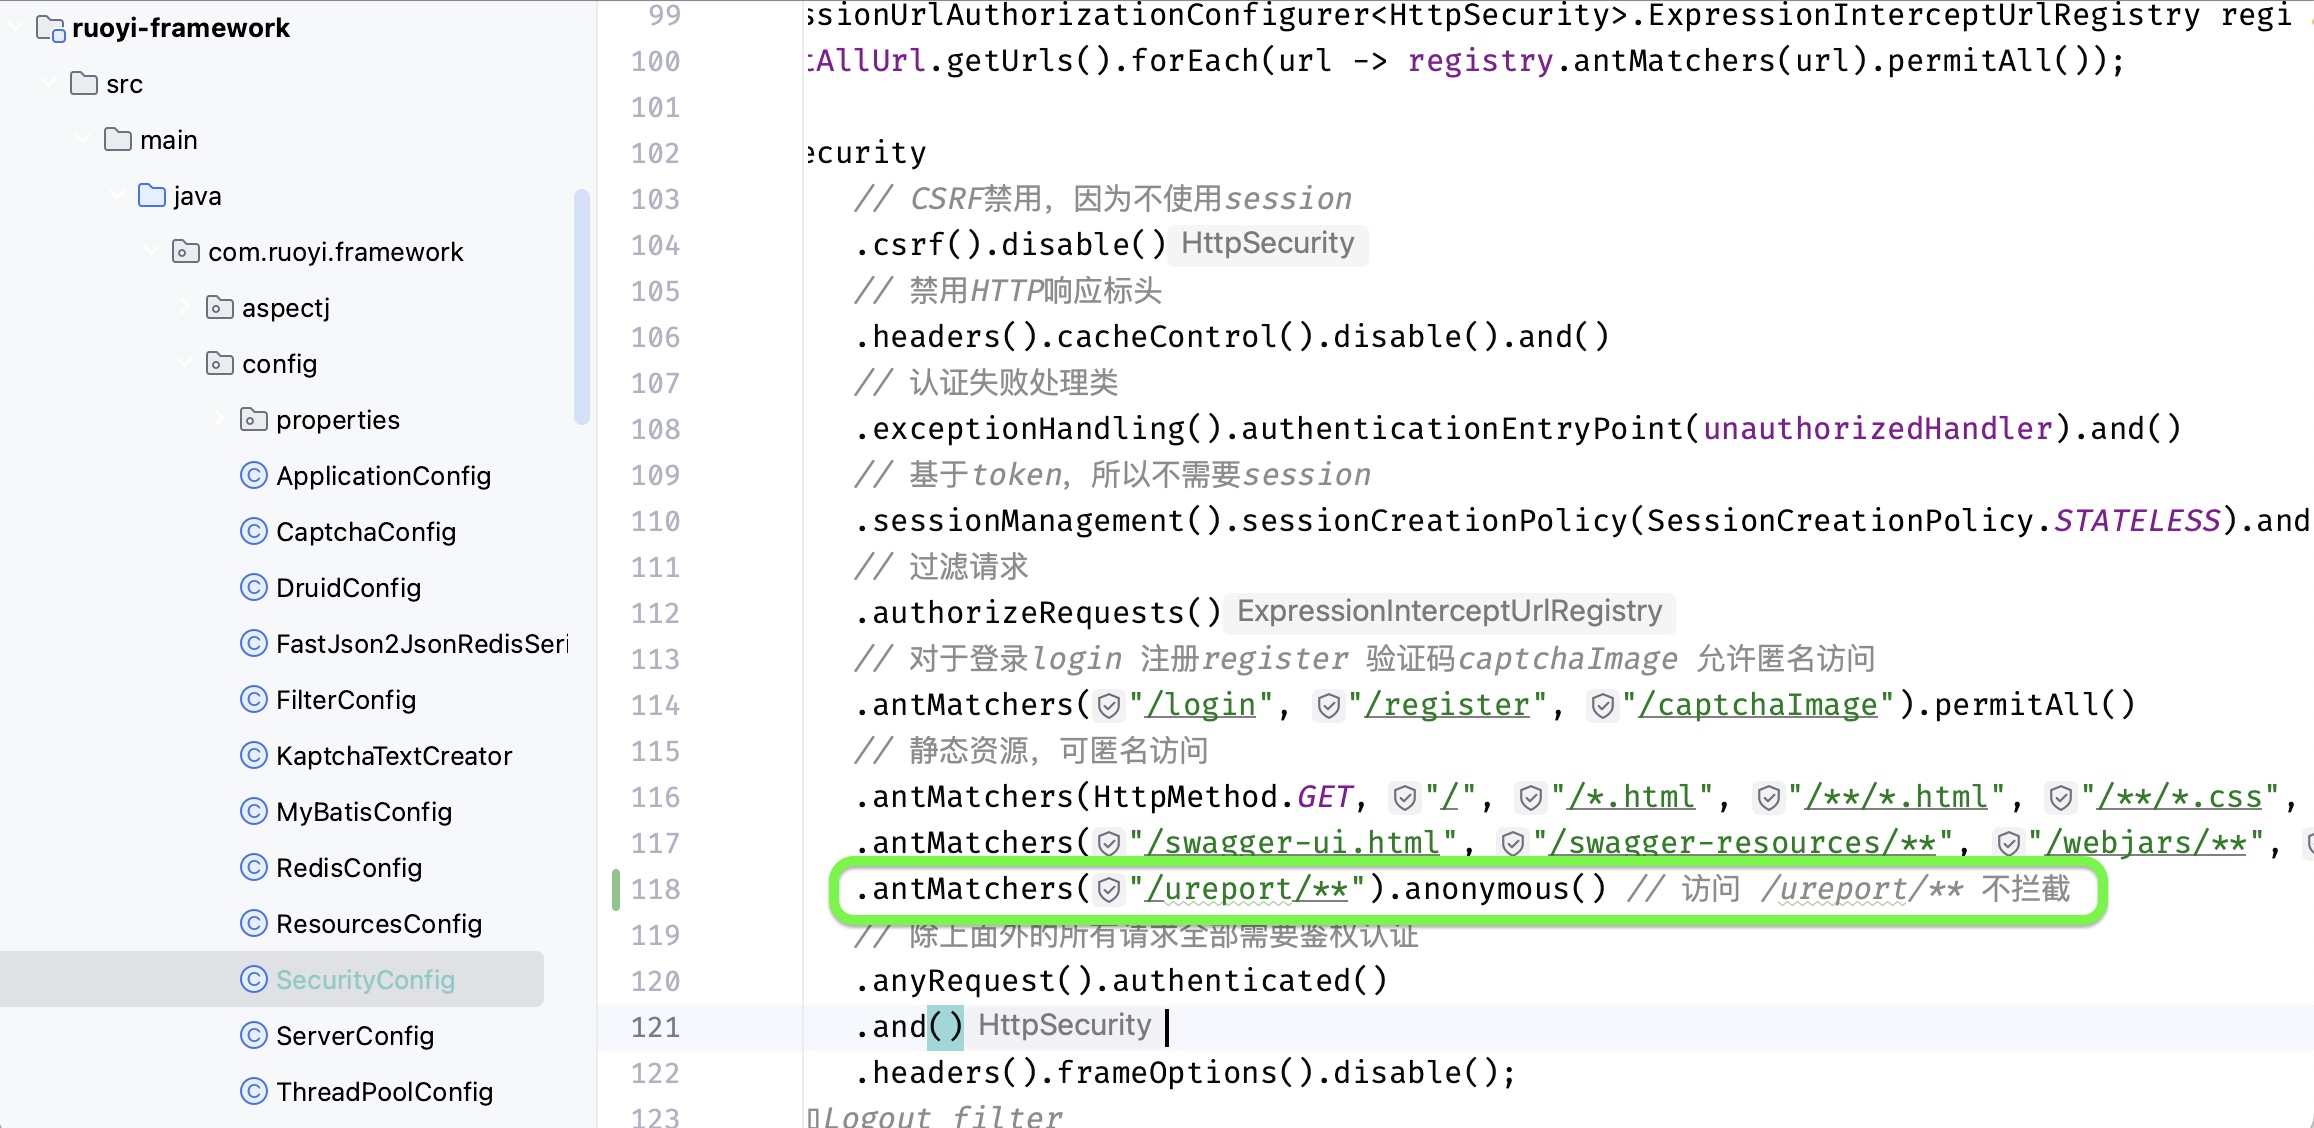
5.在ruoyi-framework模块SecurityConfig.java中加入运行匿名访问,将拦截排除
文件位置:
ruoyi-framework/src/main/java/com/ruoyi/framework/config/SecurityConfig.java
.antMatchers("/ureport/**").anonymous() // 访问 /ureport/** 不拦截
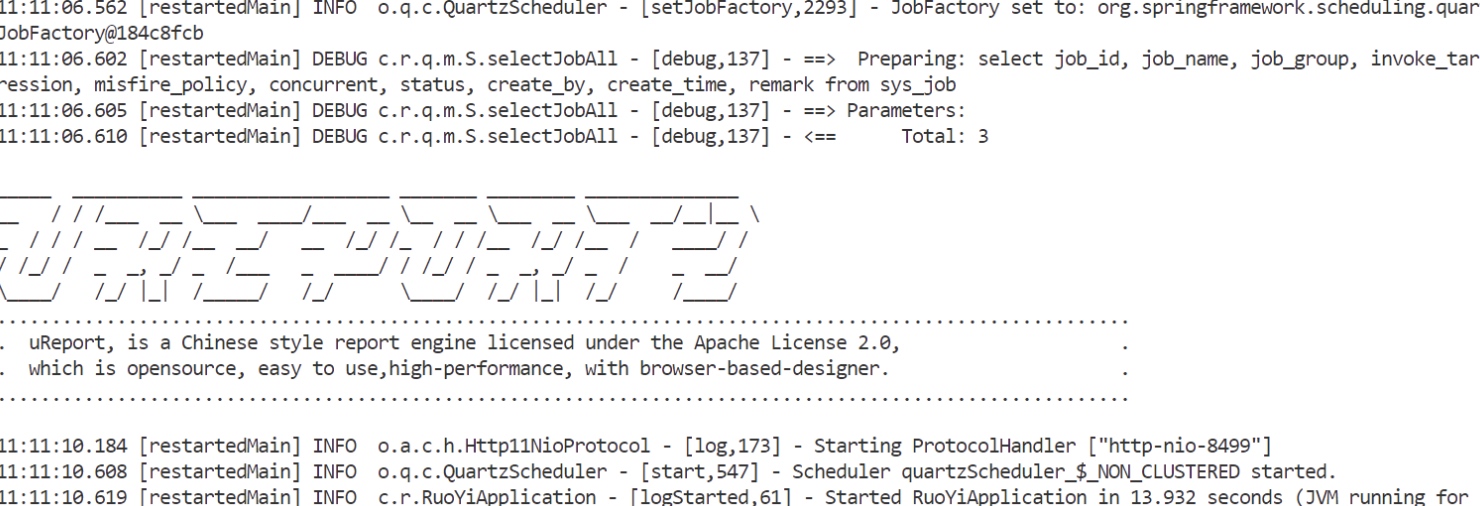
此时后端配置完成。启动项目,下图为启动成功。
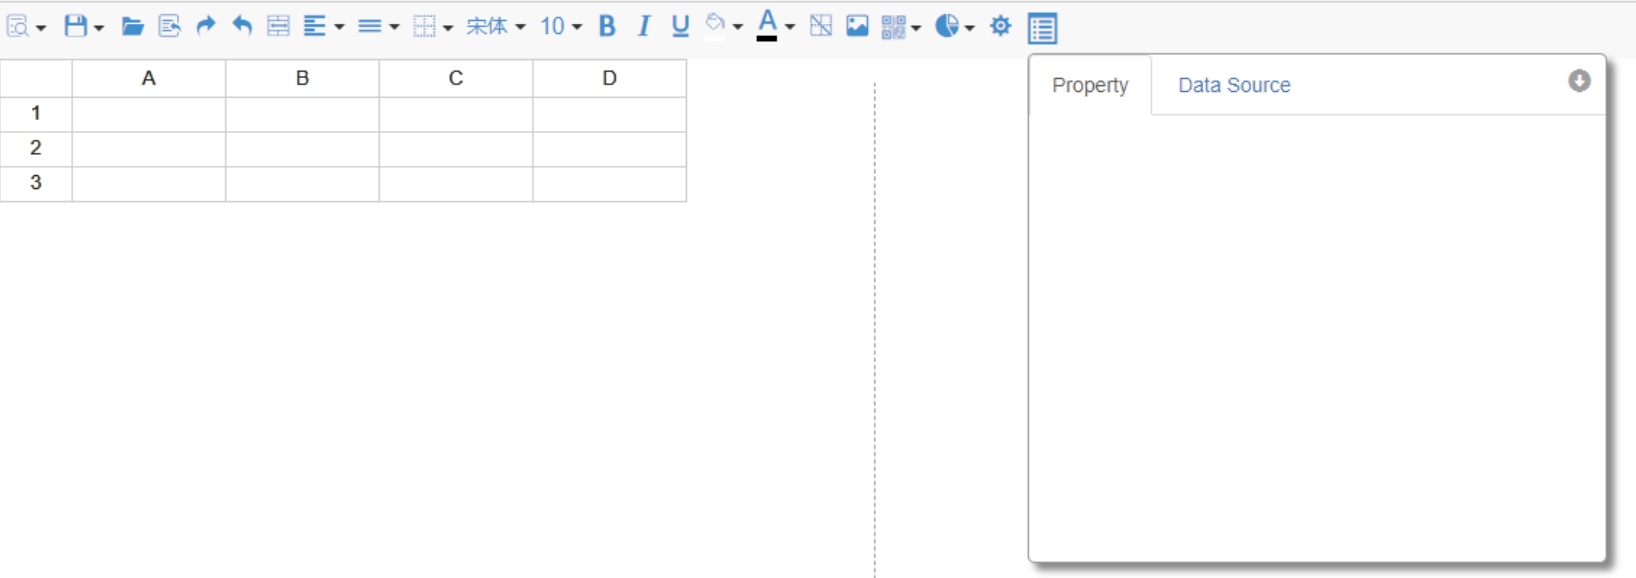
访问http://localhost:8080/ureport/designer即可。
三.前端配置
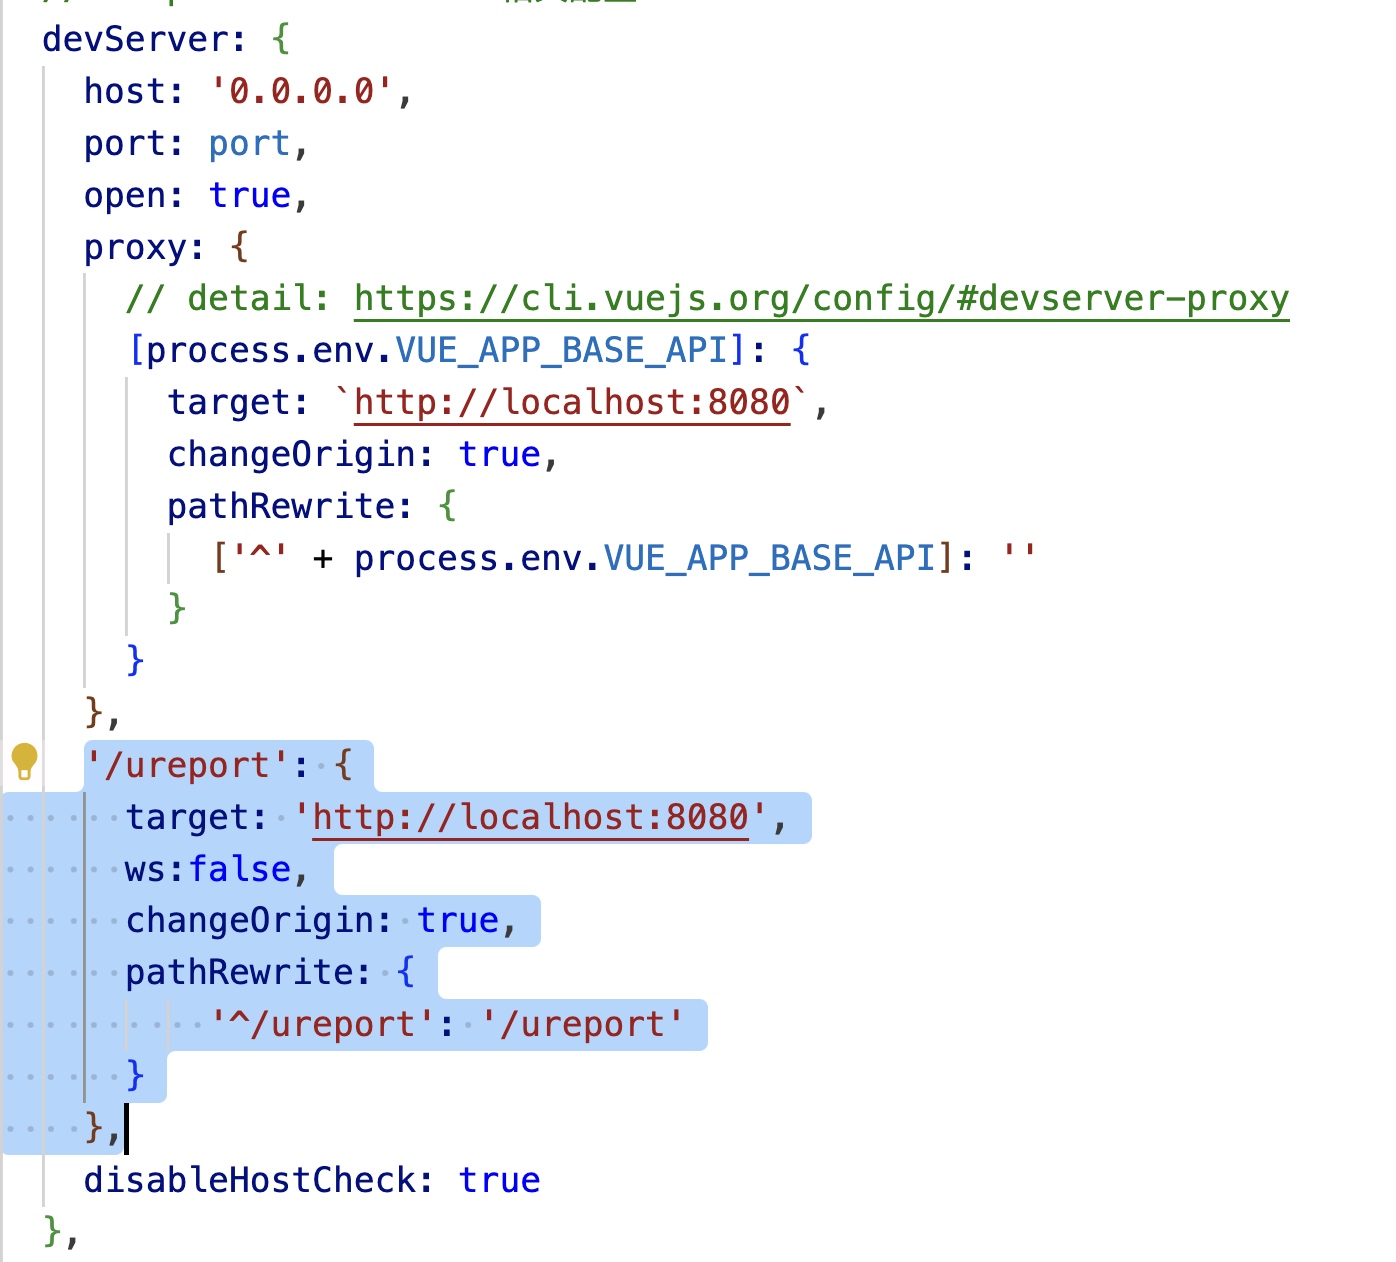
1.在ruoyi-ui/vue.config.js添加下列代码
'/ureport': {
    target: 'http://localhost:8080',
    ws:false,
    changeOrigin: true,
    pathRewrite: {
        '^/ureport': '/ureport'
    }
}
位置如下
2.在views目录下创建ureport/designer,新增index.vue文件。
文件位置:src\views\ureport\designer\index.vue
<template>
  <div v-loading="loading" :style="'height:'+ height">
    <iframe :src="src" frameborder="no" style="width: 100%;height: 100%" scrolling="auto"/>
  </div>
</template>
<script>
  export default {
    name: "Ureport",
    data() {
      return {
        src: "/ureport/designer",
        height: document.documentElement.clientHeight - 94.5 + "px;",
        loading: true
      };
    },
    mounted: function() {
      setTimeout(() => {
        this.loading = false;
      }, 230);
      const that = this;
      window.onresize = function temp() {
        that.height = document.documentElement.clientHeight - 94.5 + "px;";
      };
    }
  };
</script>
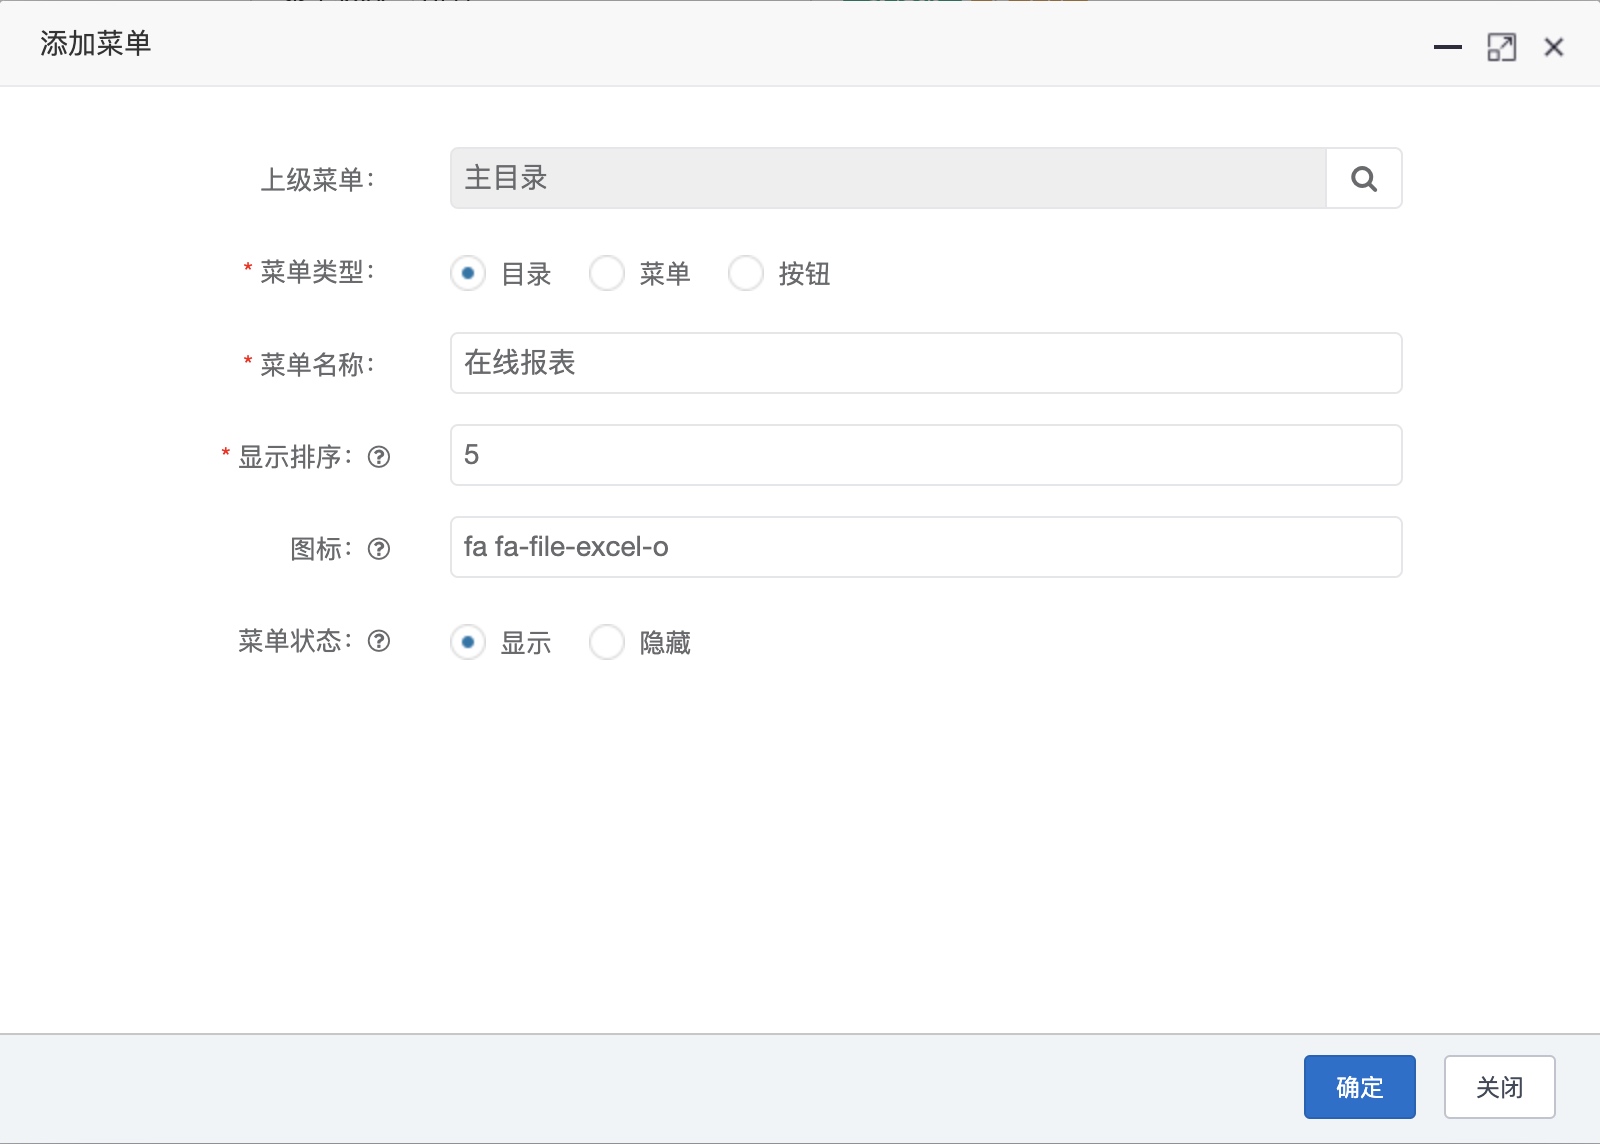
3.在若依系统新增目录
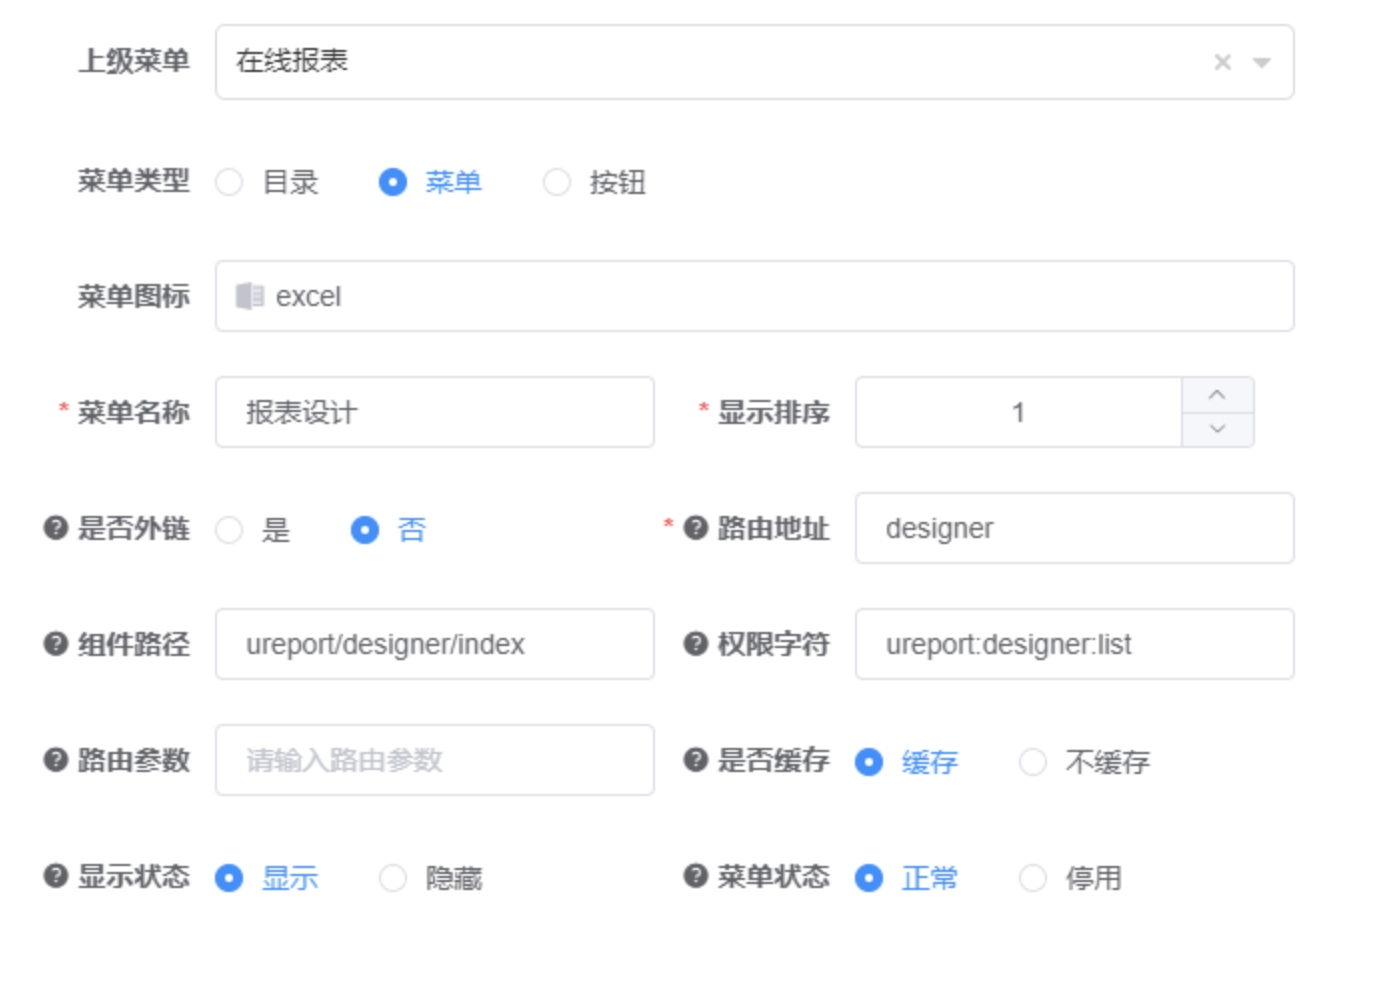
4.新增菜单
启动项目后可看到:
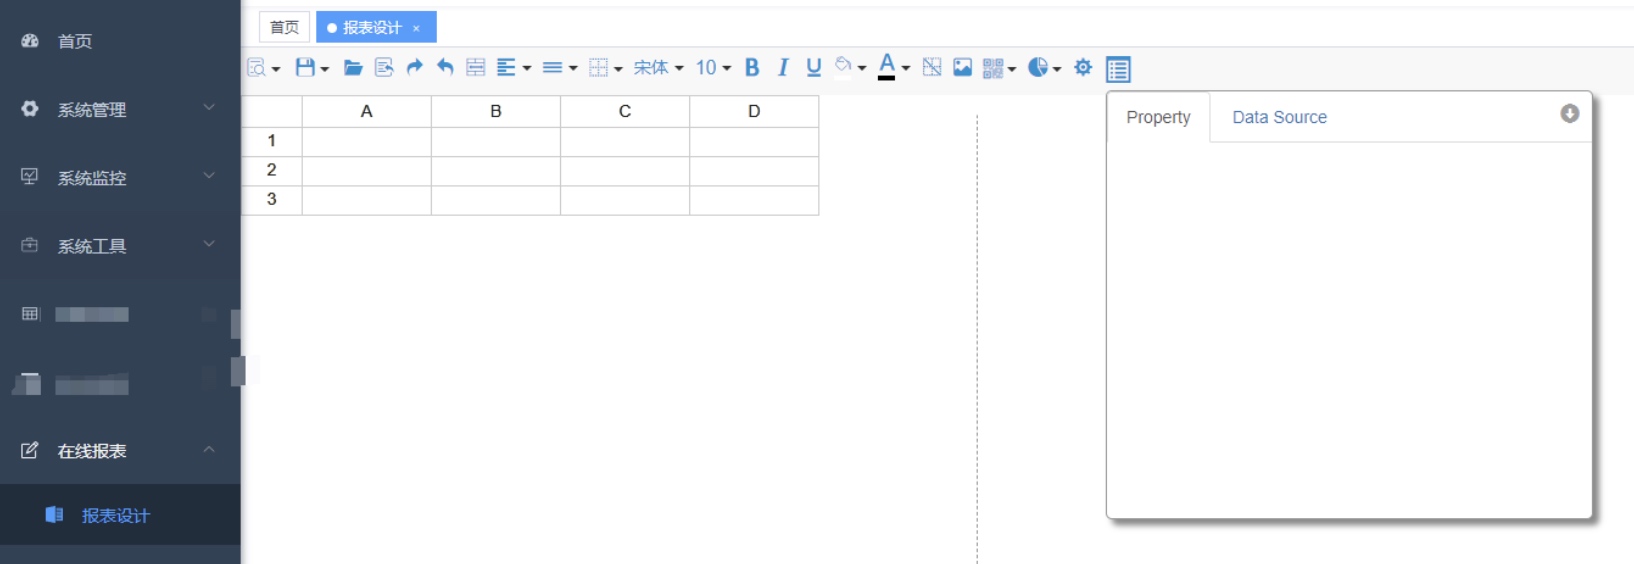
此时便可制作报表。